
前回はマスターPCのバックアップを行いました。

今回は応答ファイルの作成を行います。
応答ファイルとは、Windowsをセットアップする時に使用する初期設定ファイルです。応答ファイルに様々な設定を指定することで、クローニング展開を効率的に進めることができます。
事前準備
Windows ADKをインストールしたPC(テクニシャンPC)を用意します。
Windows PEを作成した時に使用したツールです。
Windows 11のISOファイルを用意します。
マスターPC作成準備の時に使用したインストールデータです。
データの抽出
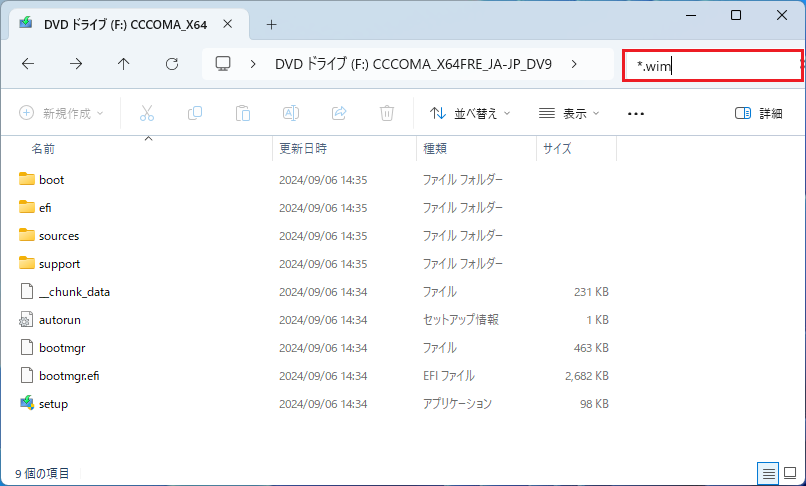
ISOファイルを開き、ファイル検索欄に「*.wim」と入れて検索します。
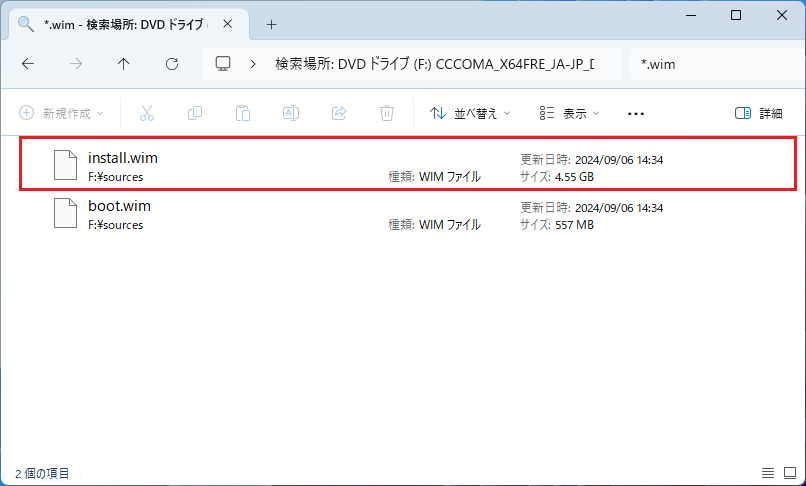
「install.wim」ファイルがあるディレクトリを開いたら、ファイルをコピーします。
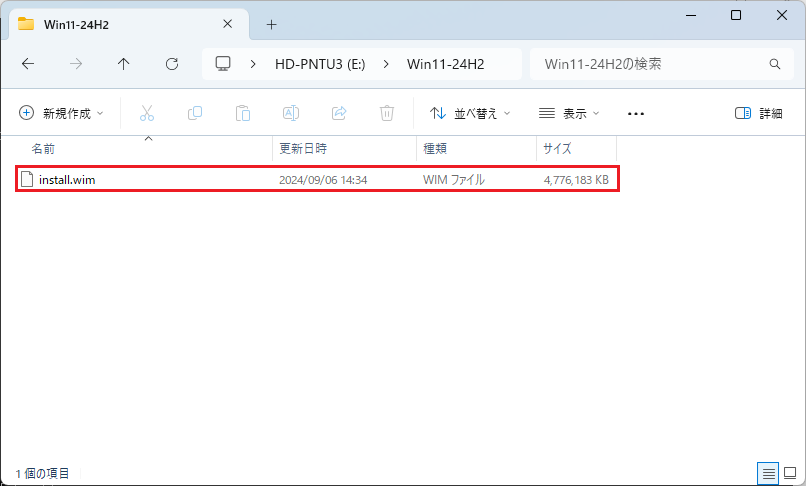
任意の場所に作業用フォルダを作成し、先ほどの「install.wim」ファイルを貼り付けします。
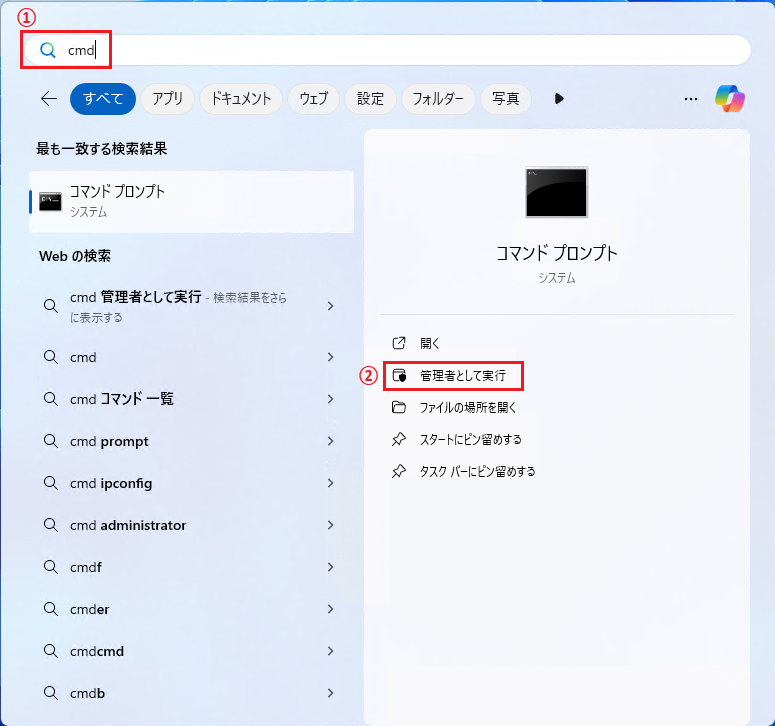
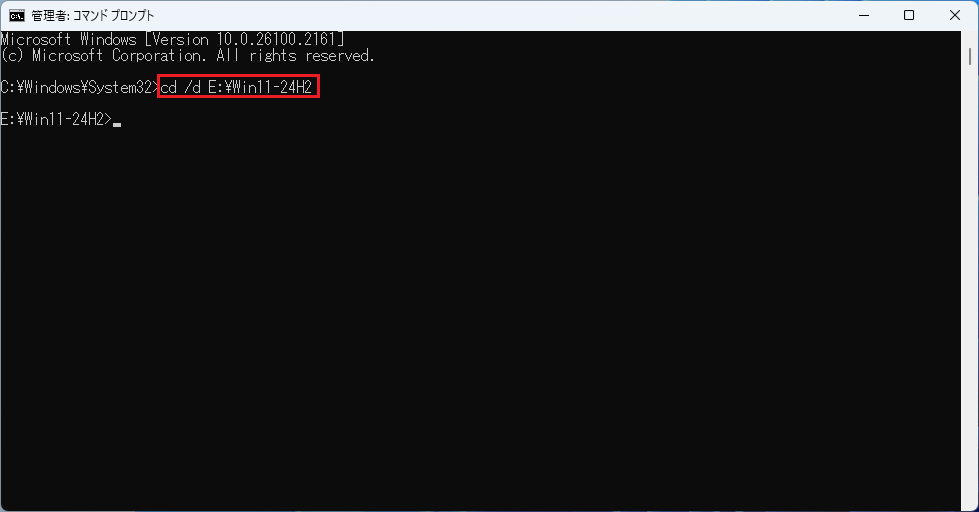
①Windowsの検索に「cmd」と入力して、②コマンドプロンプトの「管理者として実行」をクリックします。
先ほど作成した任意のフォルダに移動します。
以下のコマンドを実行すると各エディションのIndex番号が表示されます。
dism /get-wiminfo /wimfile:install.wim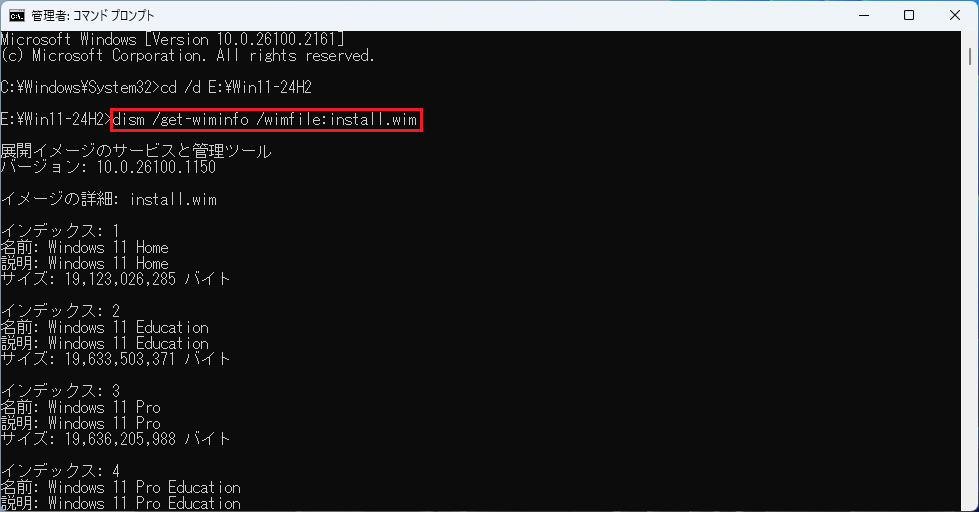
以下のコマンドを実行して、インストールデータを抽出します。
dism /export-image /sourceImageFile:install.wim /sourceindex:3 /destinationimagefile:install_win11pro.wim /compress:max /checkintegrity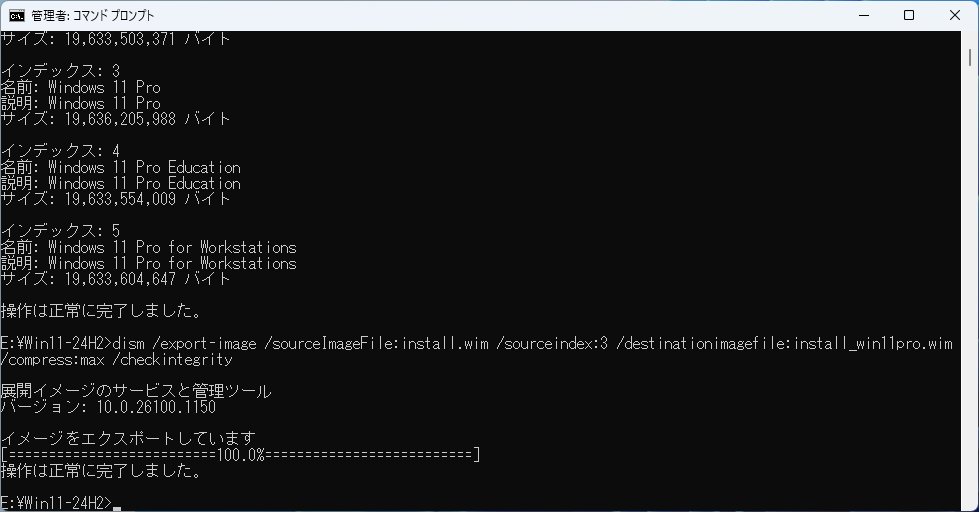
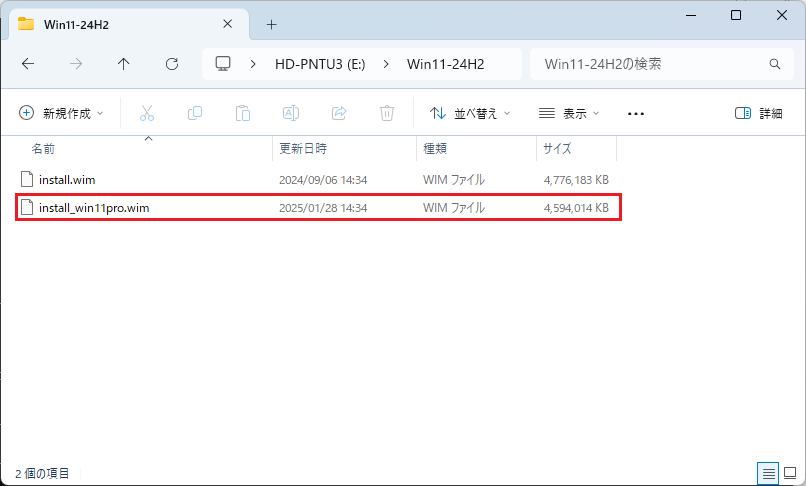
先ほどの任意のフォルダに、抽出したデータがあればOKです。
応答ファイルの作成
「スタート」→「すべてのアプリ」→「Windowsシステムイメージマネージャー」をクリックします。
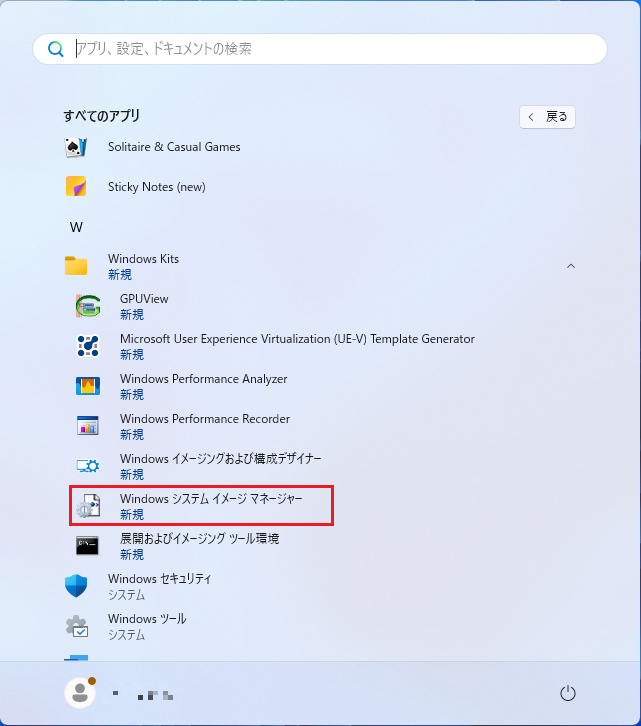
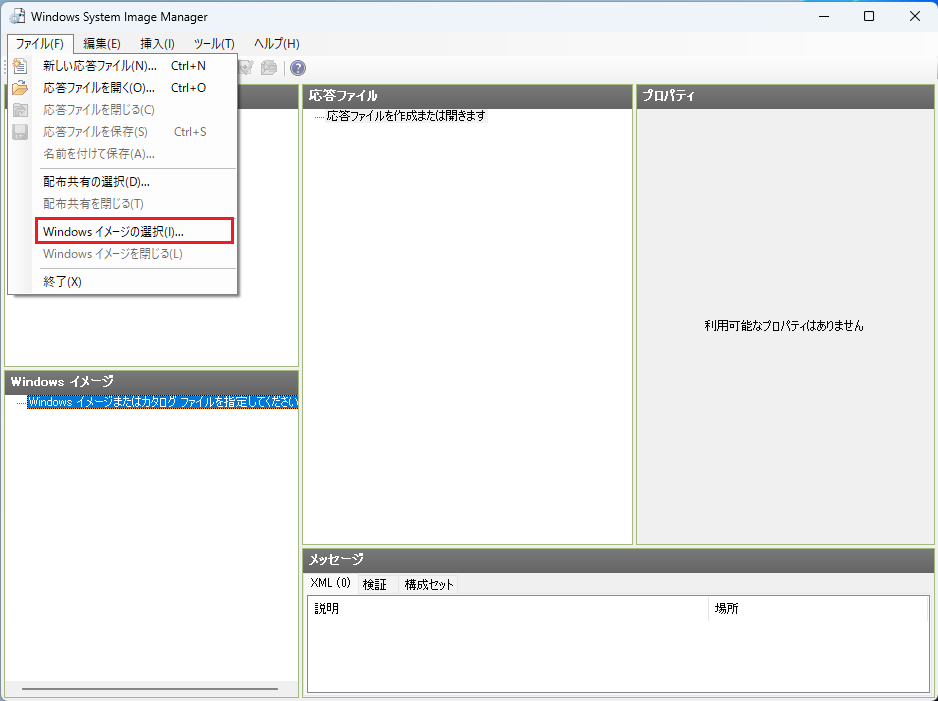
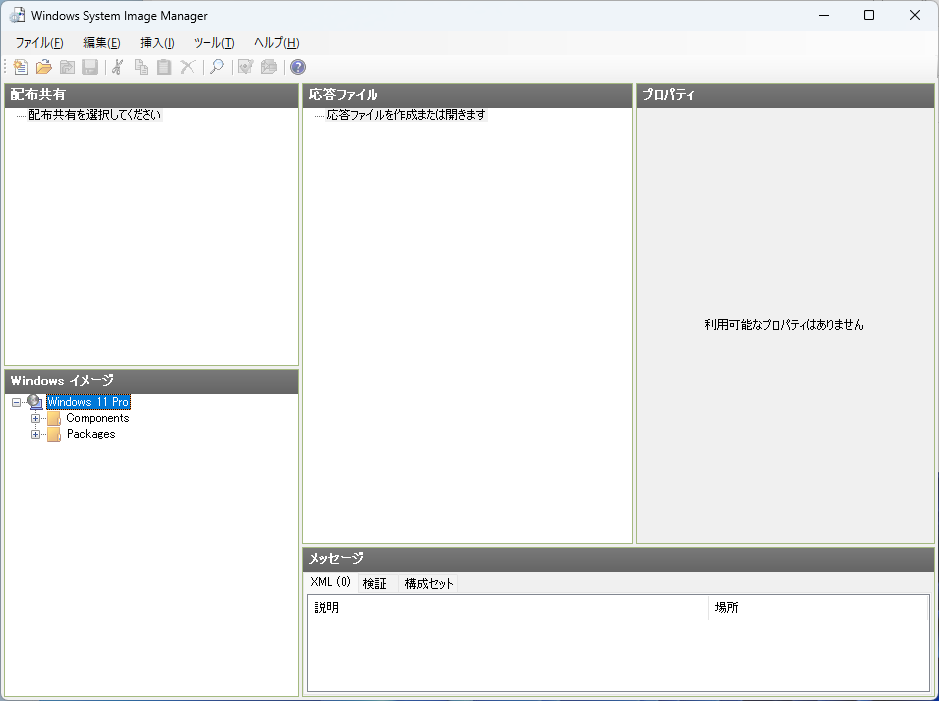
「Windowsシステムイメージマネージャー」が起動します。
「ファイル」をクリックしてメニューを開き、「Windowsイメージの選択」をクリックします。
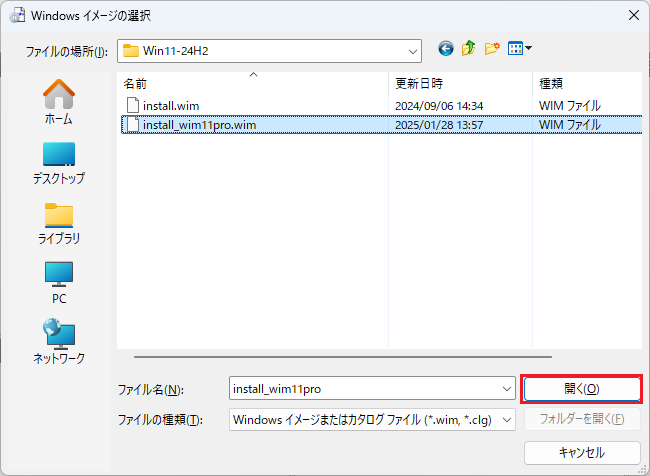
先ほど抽出したデータを選択し、「開く」をクリックします。
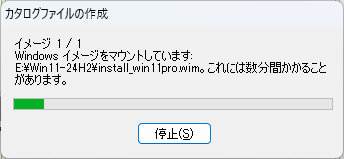
メッセージが表示されたら、「はい」をクリックします。

データの取り込みが開始します。
データの取り込みが完了すると、以下のような画面になります。
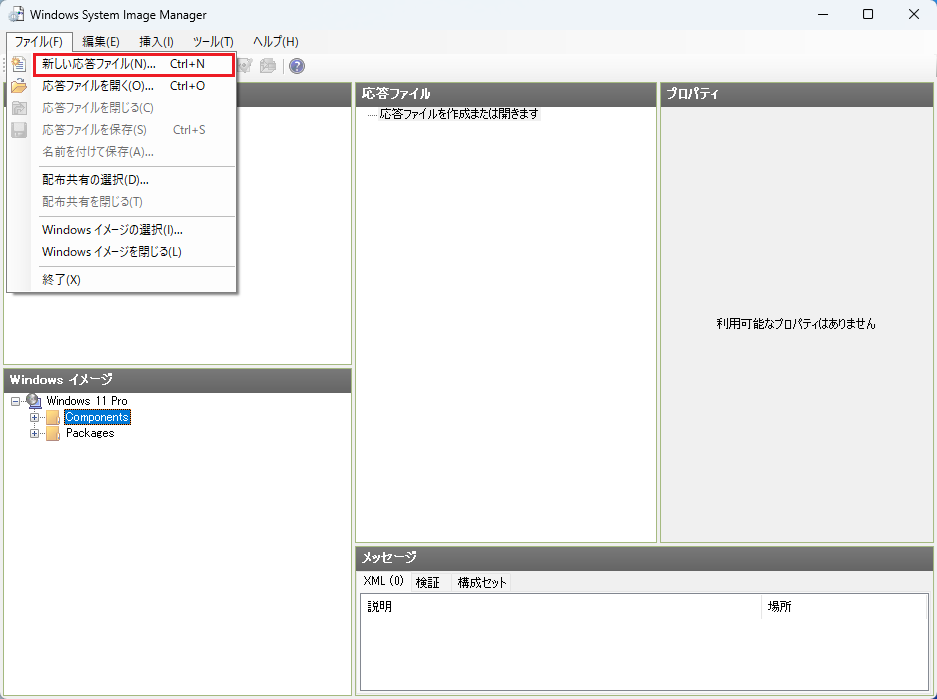
「ファイル」→「新しい応答ファイル」をクリックします。
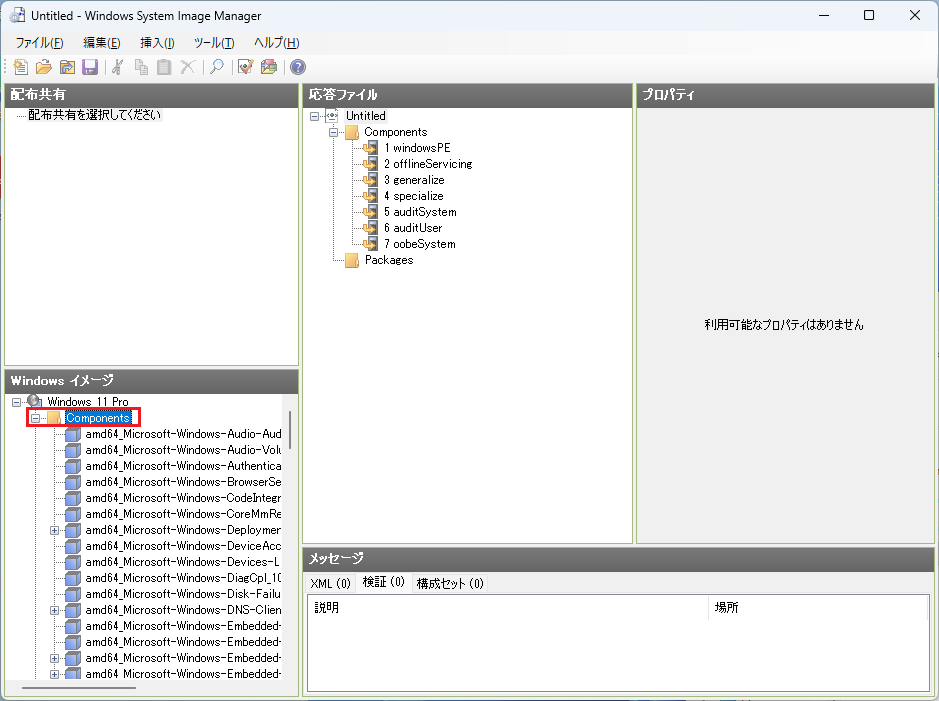
左下の「Windowsイメージ」にて、「Windows 11 Pro」→「Components」をクリックして開きます。
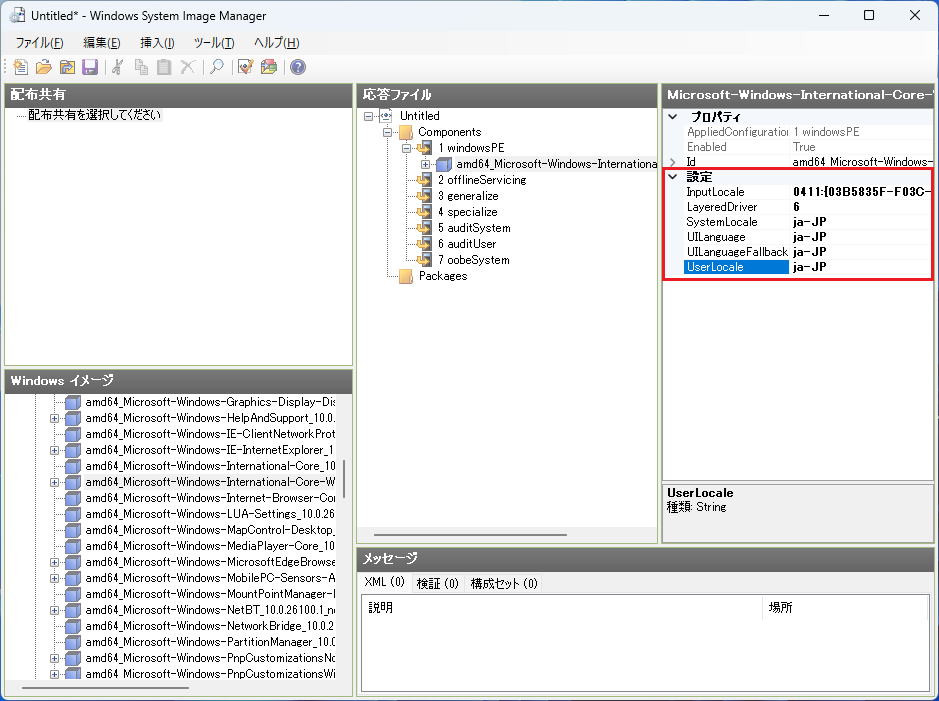
設定するコンポーネントを右クリックで追加し、値を設定していきます。
コンポーネントと設定値は以下のとおりです。
amd64-Microsoft-Windows-International-Core-WinPE
パス1 WindowsPEに設定を追加
| 設定項目 | 値 |
|---|---|
| InputLocale | 0411:{03B5835F-F03C-411B-9CE2-AA23E1171E36}{A76C93D9-5523-4E90-AAFA-4DB112F9AC76} |
| LayeredDriver | 6 |
| SystemLocale | ja-JP |
| UILanguage | ja-JP |
| UILanguageFallback | ja-JP |
| UserLocale | ja-JP |
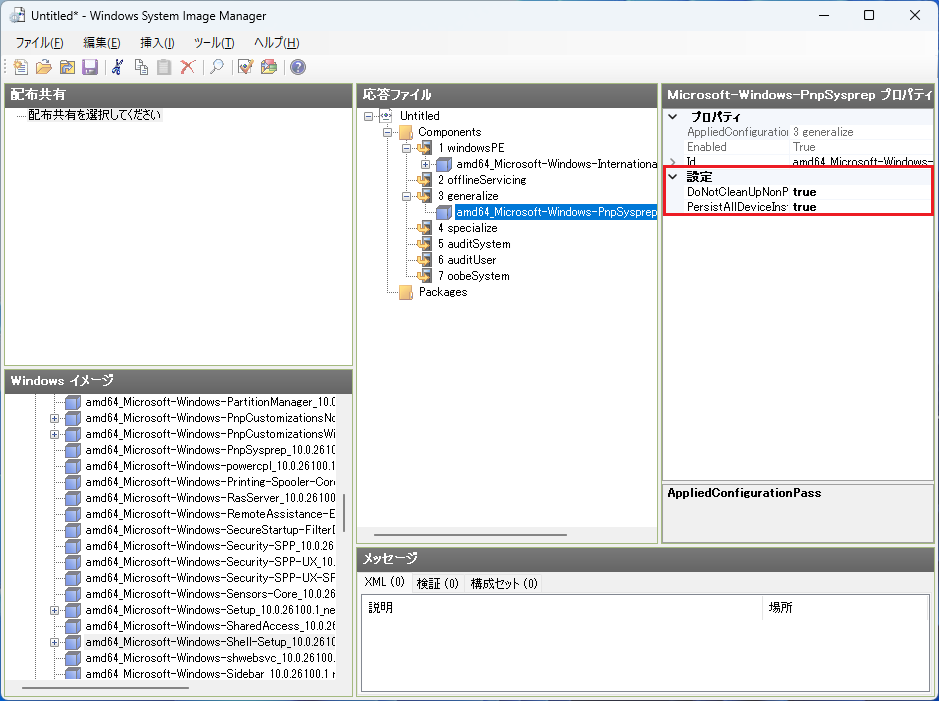
amd64-Microsoft-Windows-PnpSysprep
パス3 generalizeに設定を追加
| 設定項目 | 値 |
|---|---|
| DoNotCleanUpNonPresentDevices | true |
| PersistAllDeviceInstalls | true |
amd64-Microsoft-Windows-Shell-Setup
パス4 specializeに設定を追加
| 設定項目 | 値 |
|---|---|
| CopyProfile | true |
| ProductKey | 29文字の英数字(ハイフン含む) |
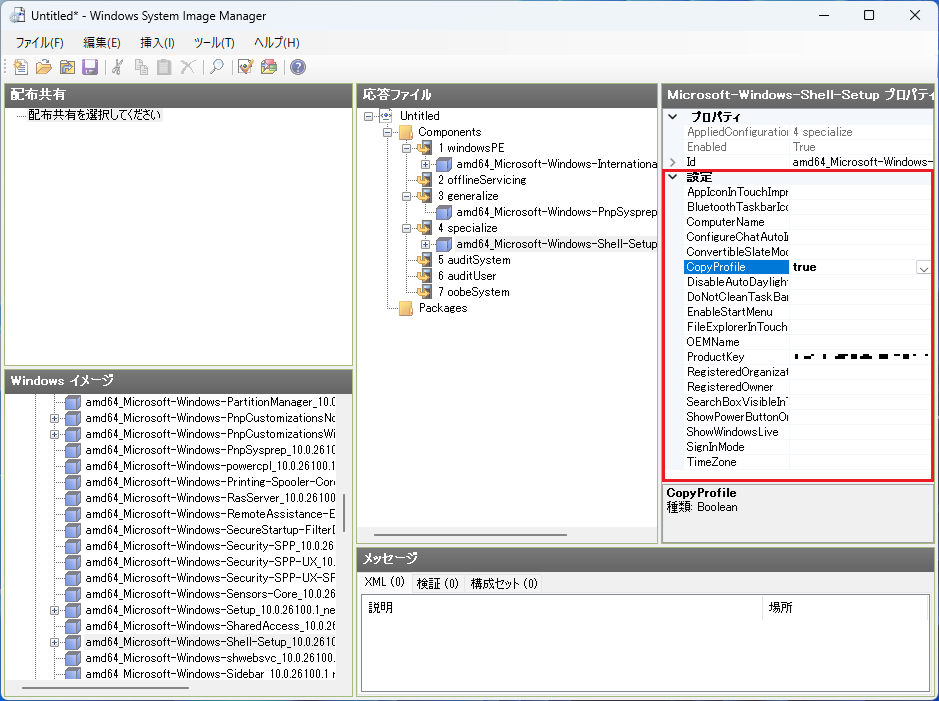
「ProductKey」にはMicrosoftのボリュームライセンスキーを入力します。
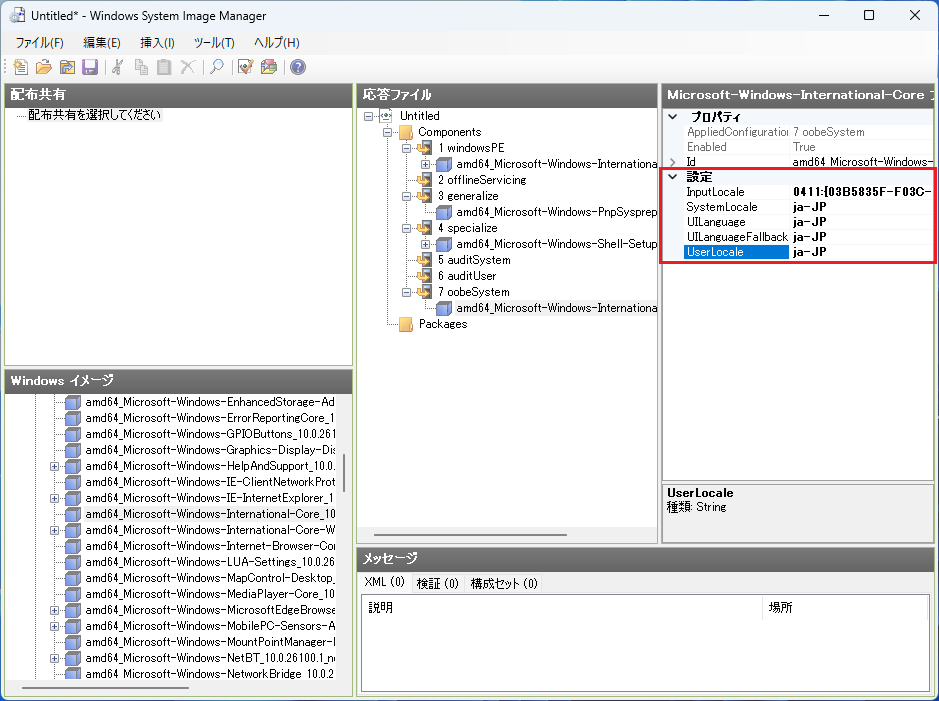
amd64-Microsoft-Windows-International-Core
パス7 oobeSystemに設定を追加
| 設定項目 | 値 |
|---|---|
| InputLocale | 0411:{03B5835F-F03C-411B-9CE2-AA23E1171E36}{A76C93D9-5523-4E90-AAFA-4DB112F9AC76} |
| SystemLocale | ja-JP |
| UILanguage | ja-JP |
| UILanguageFallback | ja-JP |
| UserLocale | ja-JP |
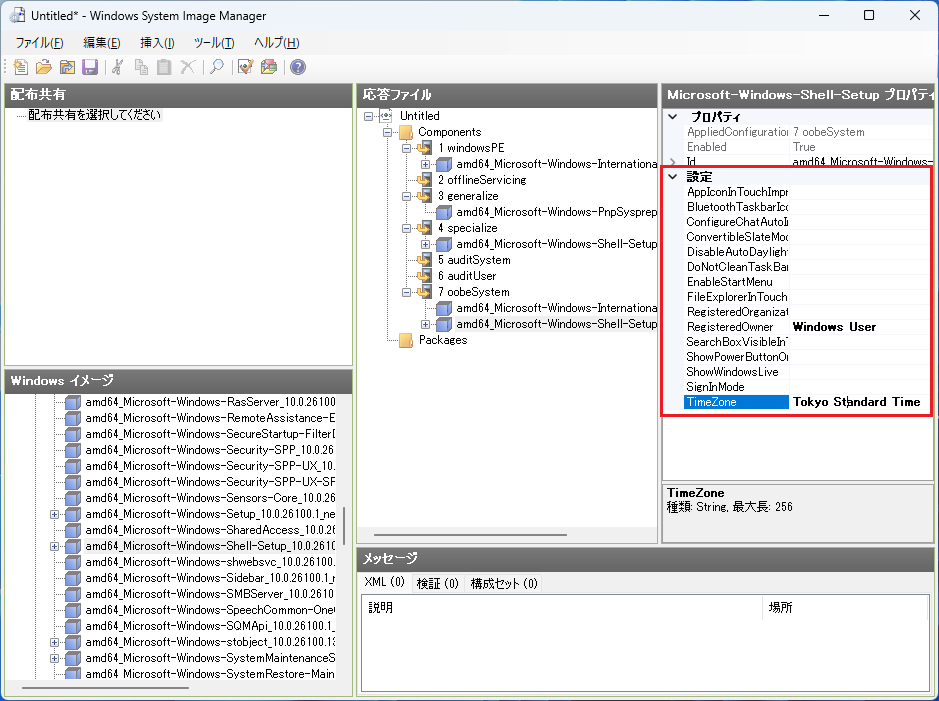
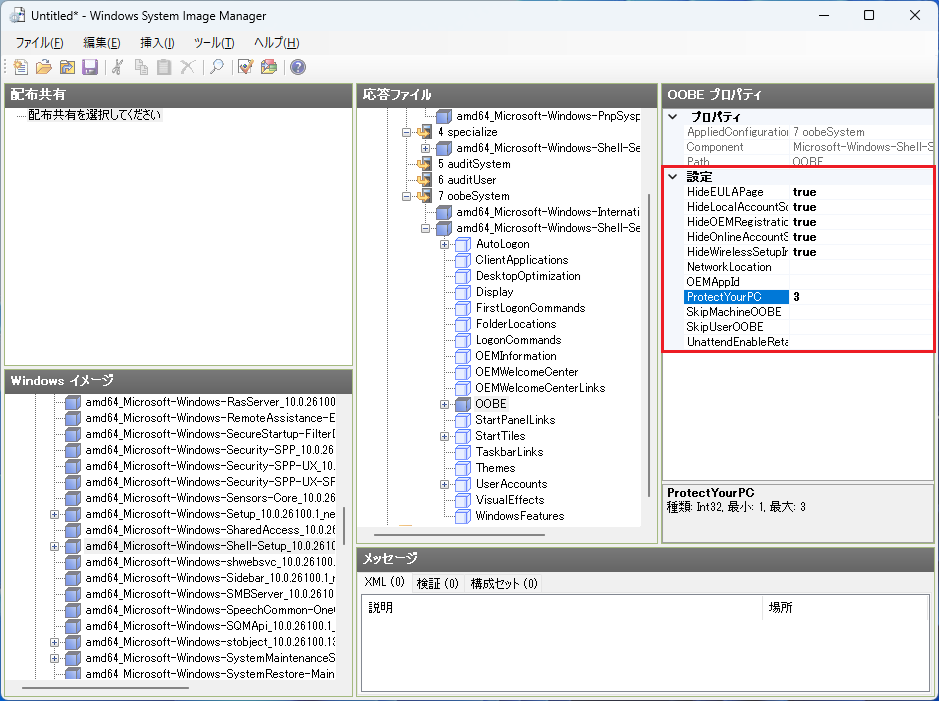
amd64-Microsoft-Windows-Shell-Setup
パス7 oobeSystemに設定を追加
| 設定項目-1 | 設定項目-2 | 値 |
|---|---|---|
| RegisteredOwner | Windows User | |
| TimeZone | Tokyo Standard Time | |
| OOBE | HideEULAPage | true |
| HideLocaleAccountScreen | true | |
| HideOEMRegistrationScreen | true | |
| HideOnlineAccountScreen | true | |
| HideWirelessSetupInOOBE | true | |
| ProtectYourPC | 3 |
応答ファイルの保存
設定していない項目を削除していきます。
薄い□(設定値が入っていない)項目を選択し、「Delete」キーで削除します。
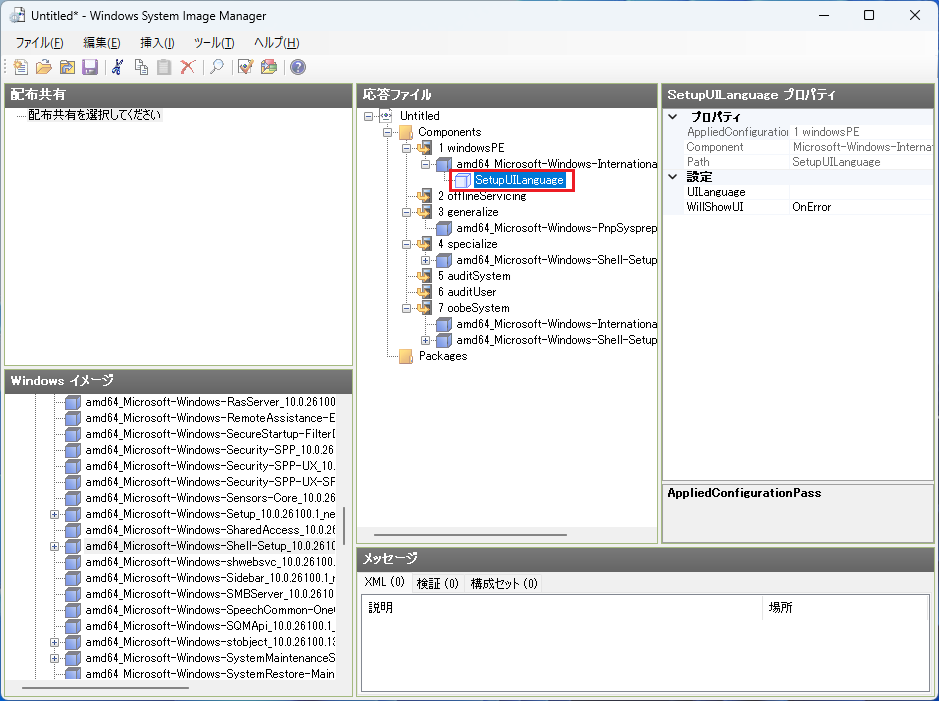
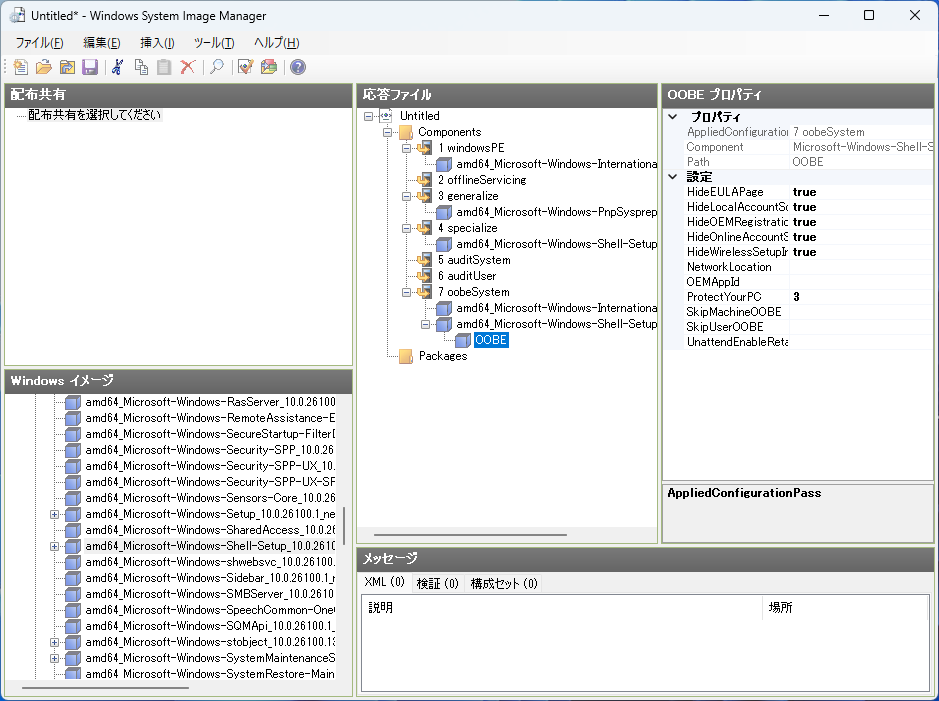
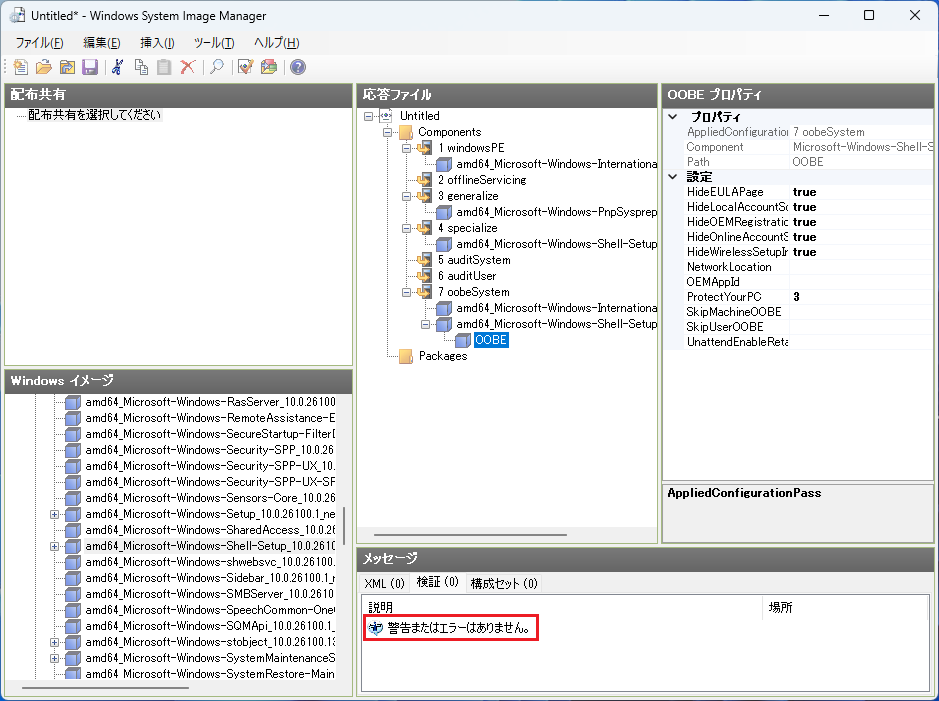
最終的には以下のようになります。
階層がある項目は、下の階層も削除します。
「ツール」→「応答ファイルの検証」をクリックします。
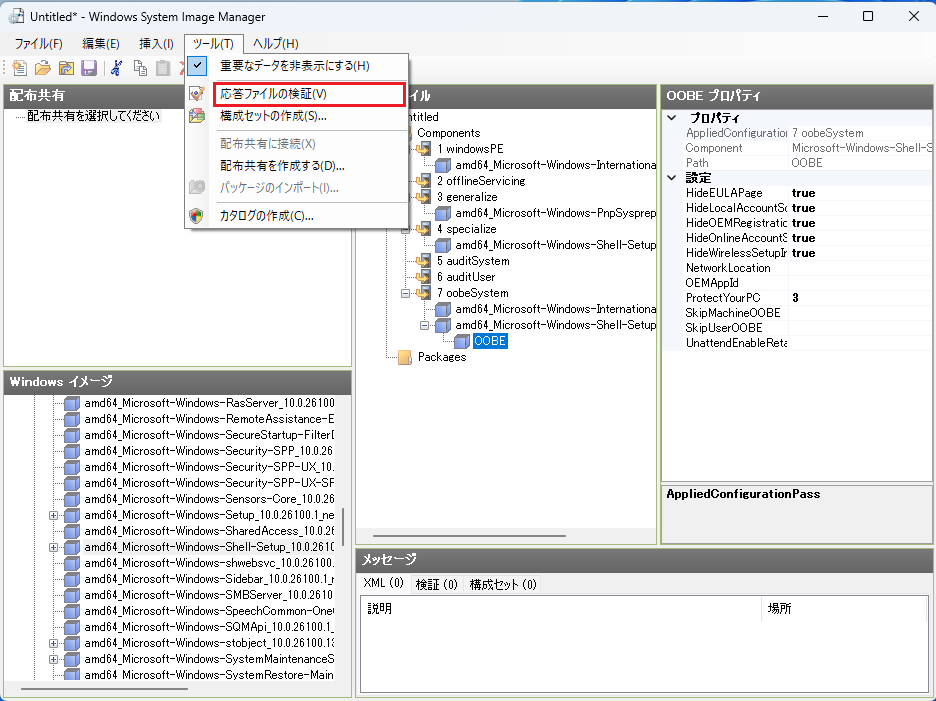
エラーがないことを確認します。
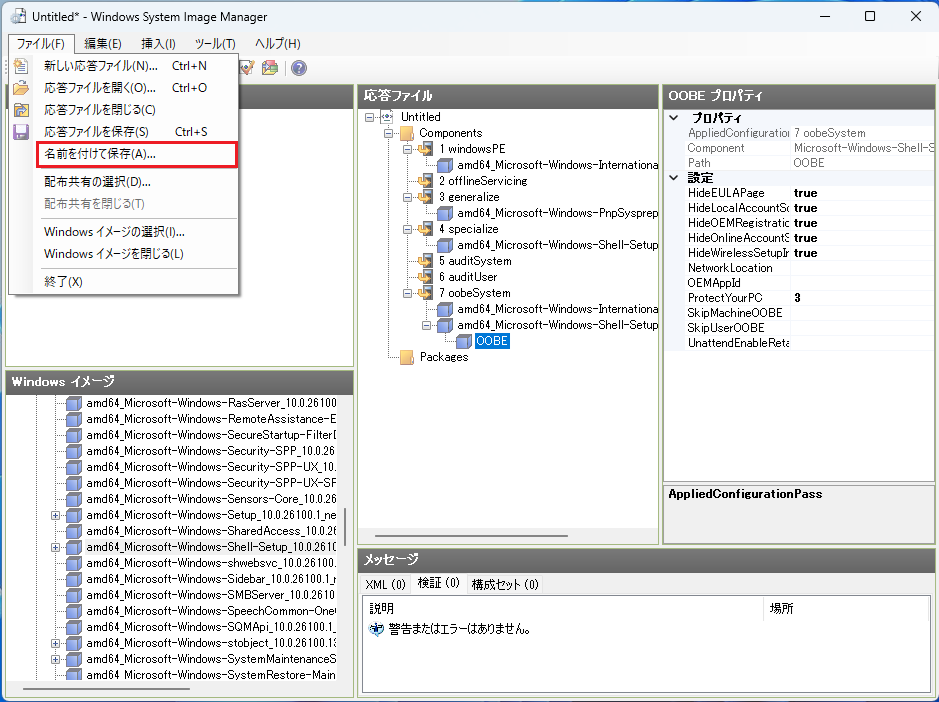
「ファイル」→「名前を付けて保存」をクリックします。
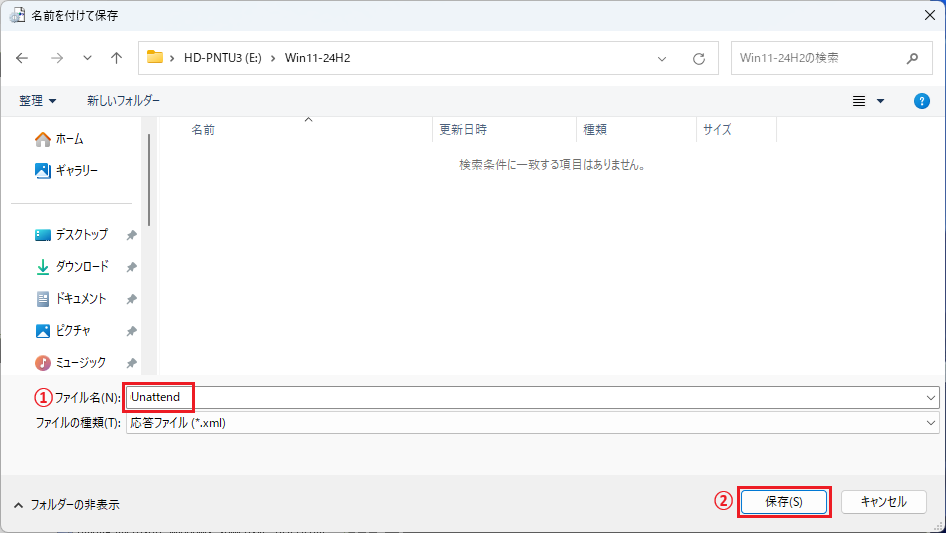
①ファイル名に「Unattend」と入力し、②「保存」をクリックします。
まとめ クローニングでPC展開~応答ファイルの作成~
今回は応答ファイルの作成をご紹介しました。
作成した応答ファイルは、Sysprepの一般化の時に使用します。応答ファイルを使うことで、クローニング展開の作業を効率的に行うことができます。
次回はSysprepの一般化についてご紹介します。

コメント